




Today, I am going to tell you how you can help your class make their own Mother’s Day Guided Drawing plates! This was an easy, one day project for my Kindergarten class. All I had to do was collect $7.00 per child, and make sure that we got the drawings done early enough to get them shipped back in plenty of time for Mother’s Day. That’s why I am posting this now, so that you will be reminded to get it done in time for that special day!
If you don’t think your student’s families can come up with seven dollars each, then you could also just have your students make these cute drawings into cards, but that is not nearly as much fun! (See my blog post on that here.) I have done this project just about every year for many years, and once the parents realize that it is for a keepsake like this, they are happy to give the money. When I collect the money from parents, I also ask them if anyone would like to donate a little extra for a needy child, and there are always parents that give a little extra, so that helps cover those few children whose parents do not have the money.
 |
| Makit Plate Kits can be ordered here. |
To do this project, all you need to do is download the free guided drawing directions to teach your kids how to draw their mothers by visiting my previous blog post here. Then you will need to order a Make-a-Plate Classroom Group Kit for $5.99. I picked up my kit at the CKA’s PK1 Conference! After it comes in the mail, then you will need some water soluble markers. We used some medium tipped black markers for the outlines, and then used Crayola Washable Markers for coloring it in. Anything will work, as long as it is not a permanent marker, so don’t use a Sharpie!
If you think that you will do this more than one year in a row, consider making a sample plate. This year when I showed my students my sample plate, they were all saying things like, “Wow!!! That’s amazing! Won’t it wash off when it gets wet?” I think it helped them to understand that we were making something that was special because it would be permanent and so it was important to try their best.
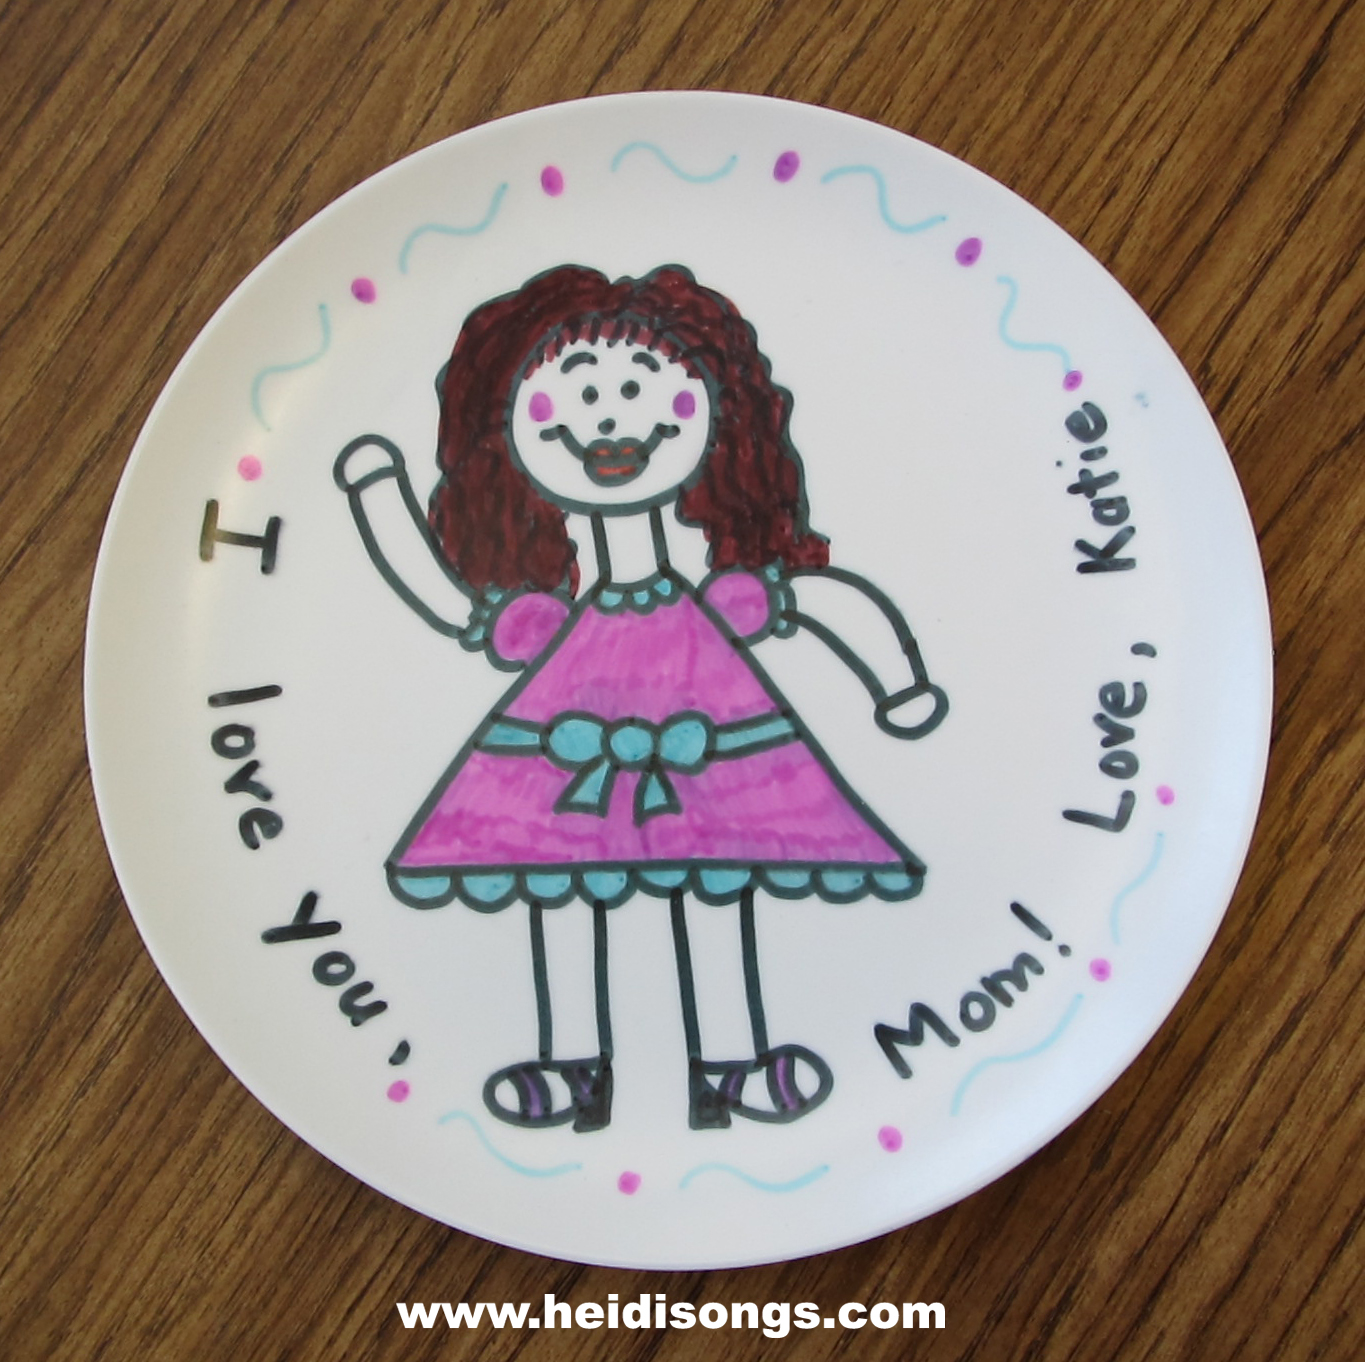 |
| This is my finished sample plate. |
After showing them the sample, it’s time to get to work! I was busy testing because it’s that time of year. So I reluctantly gave the project over to my aide. She showed them each of the steps to drawing “mom” one piece at a time on our white board easel.
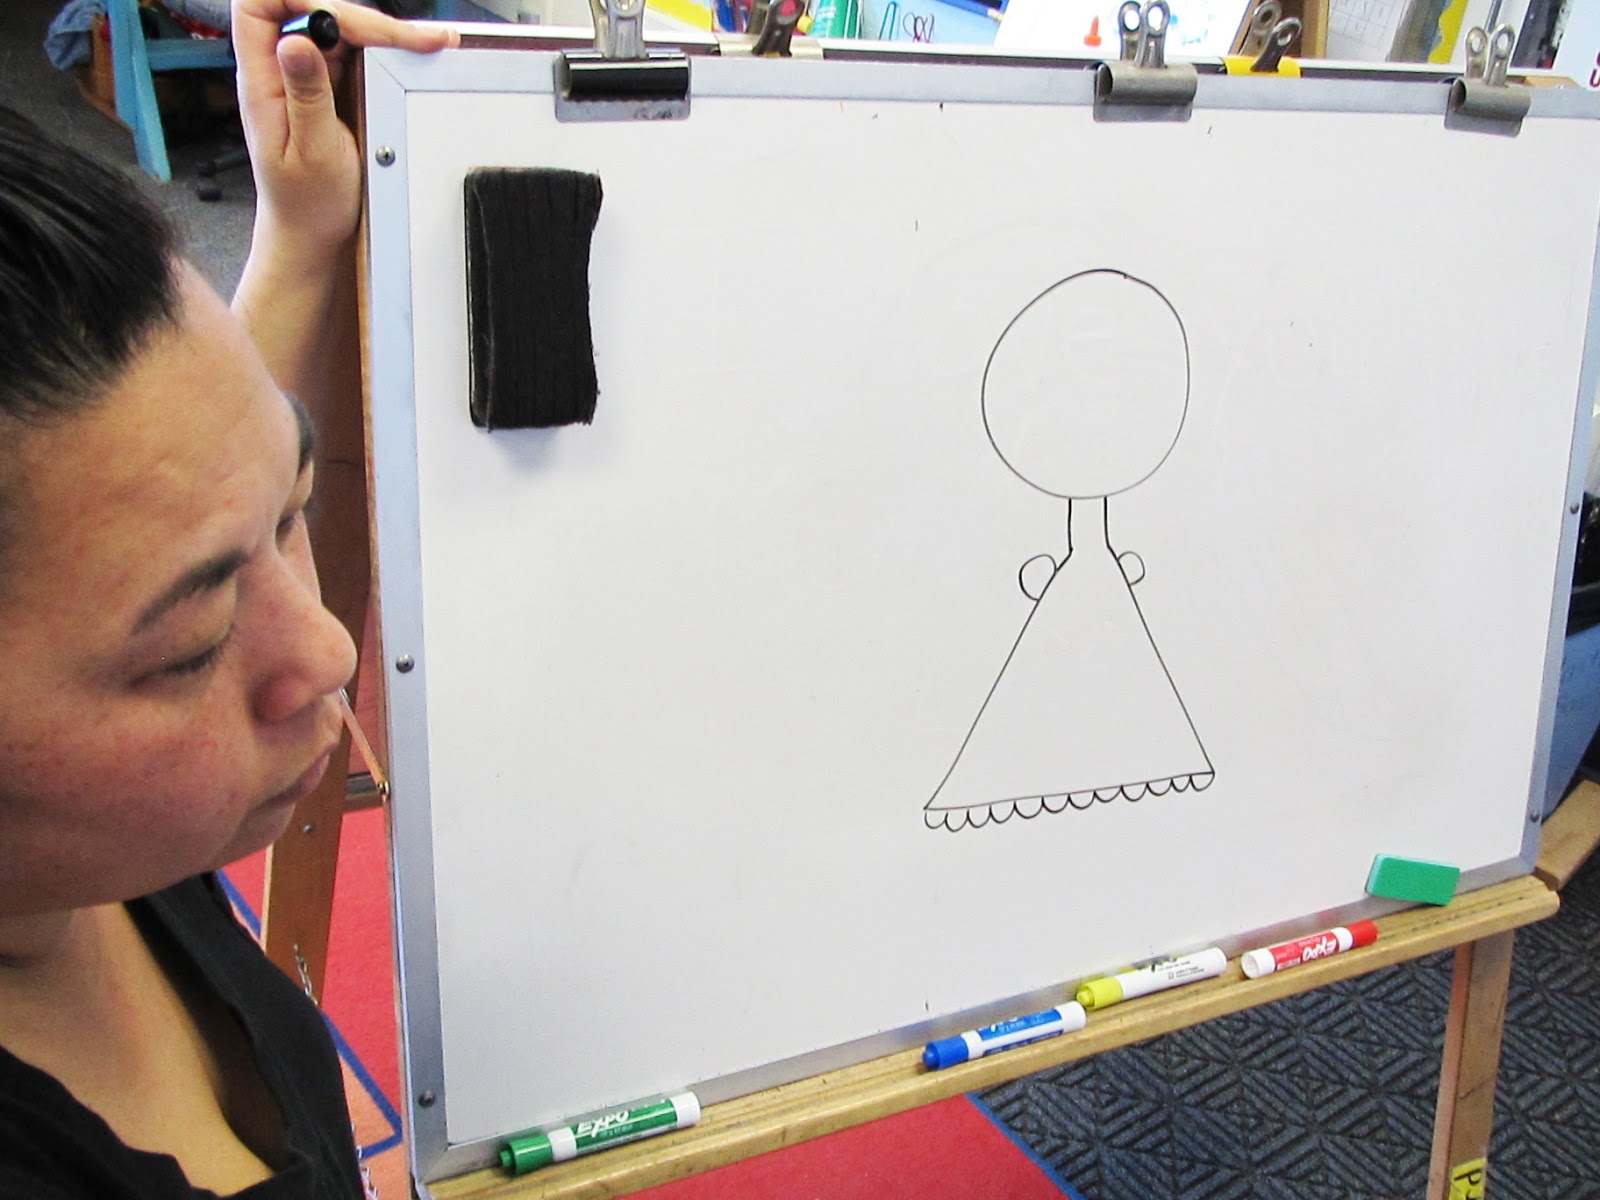 |
| Show the kids the Guided Drawing steps, one by one. |
One thing that we also do to help the project be successful is to lightly pencil in the head onto their papers in the correct size and placement ahead of time. That way, we know that they will at least start off in the correct place, with the correct sized head. If the head is too small, they cannot continue with the face. And if they put it in the wrong place, there will be no room for the dress, etc. So the size and placement of the head is a deal breaker!
The instructions on the kit say that the drawings are not supposed to go beyond a one inch margin on the round plate papers, but that is a hard thing for young children to visualize. So we drew the margin with a thick black marker on a piece of paper and paper clipped it underneath their Makit sheets.
 |
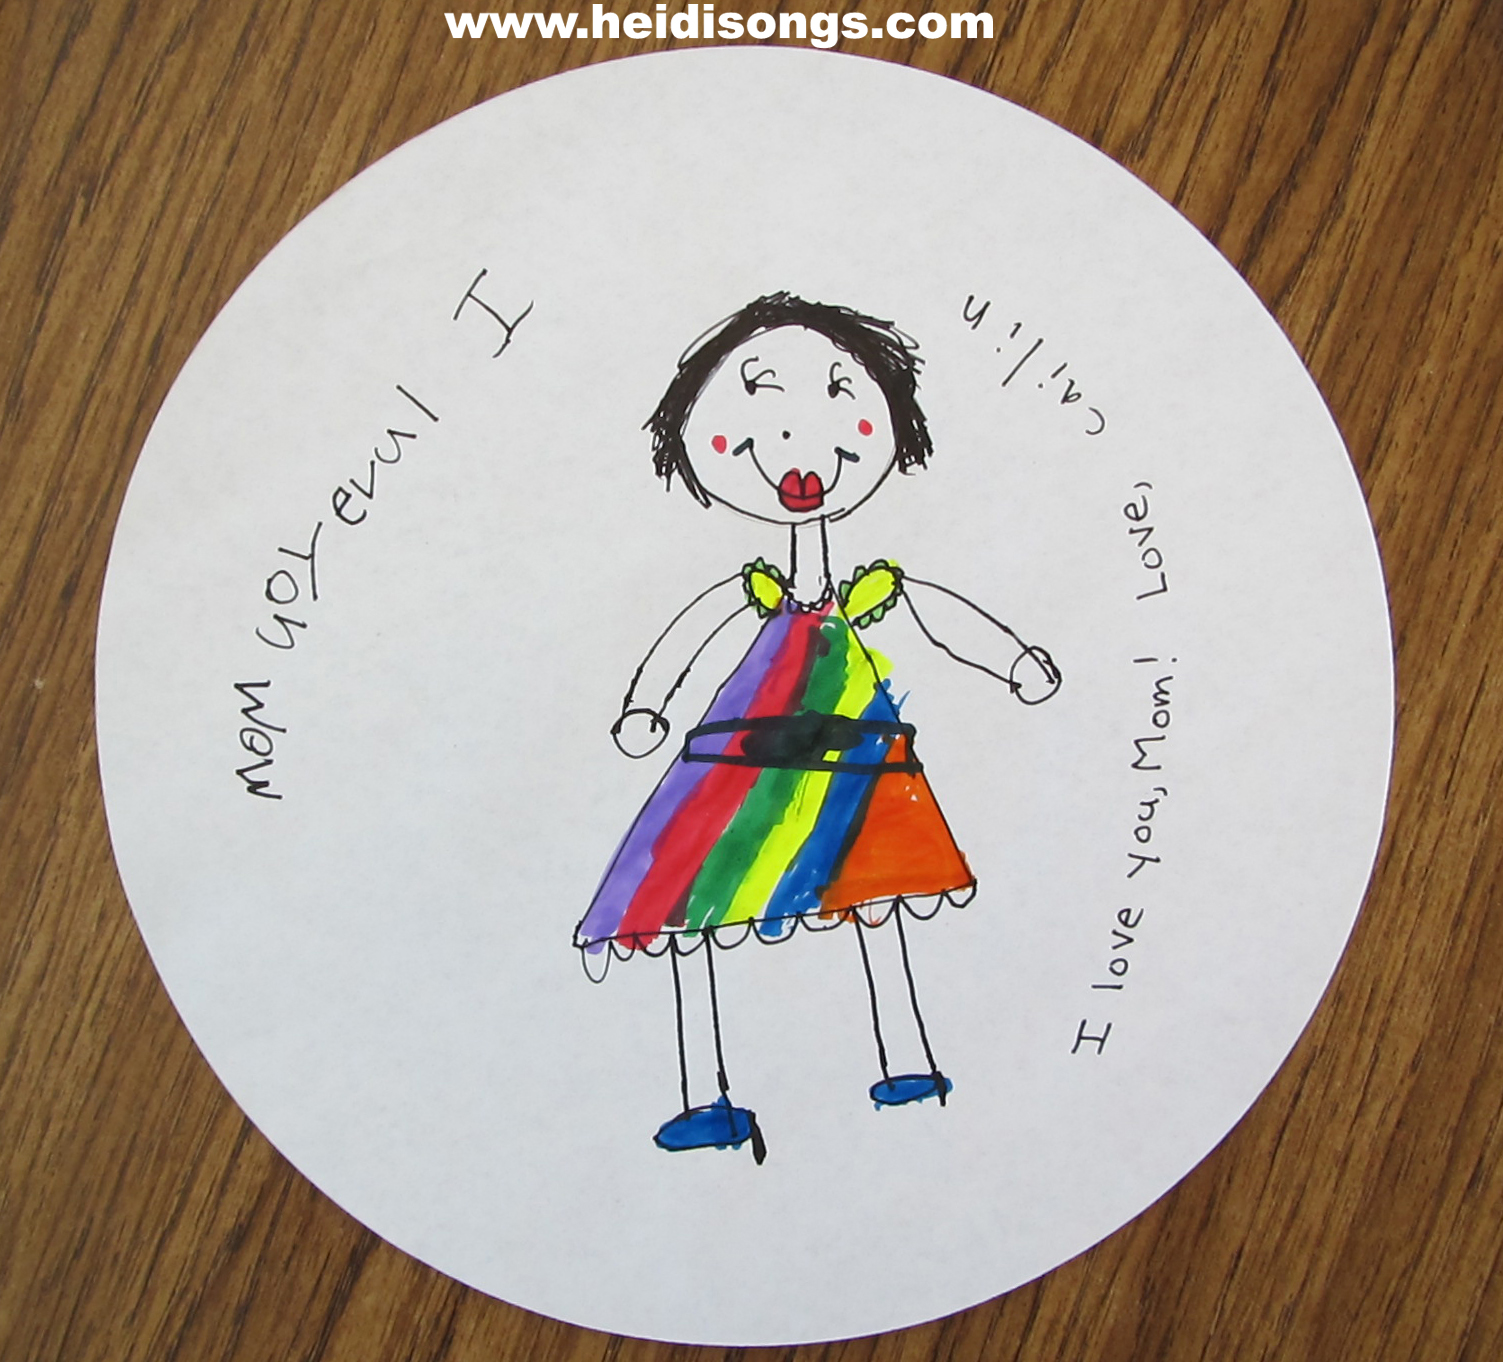
| On the picture on the left, you can see how we paper clipped another page underneath to show the children the margin that they should not cross over when drawing. The picture on the right shows the child’s completed drawing. |
Here are some pictures of the kids as they drew. When I saw how adorable they were, I couldn’t help but grab my camera, because I knew you all would enjoy them!


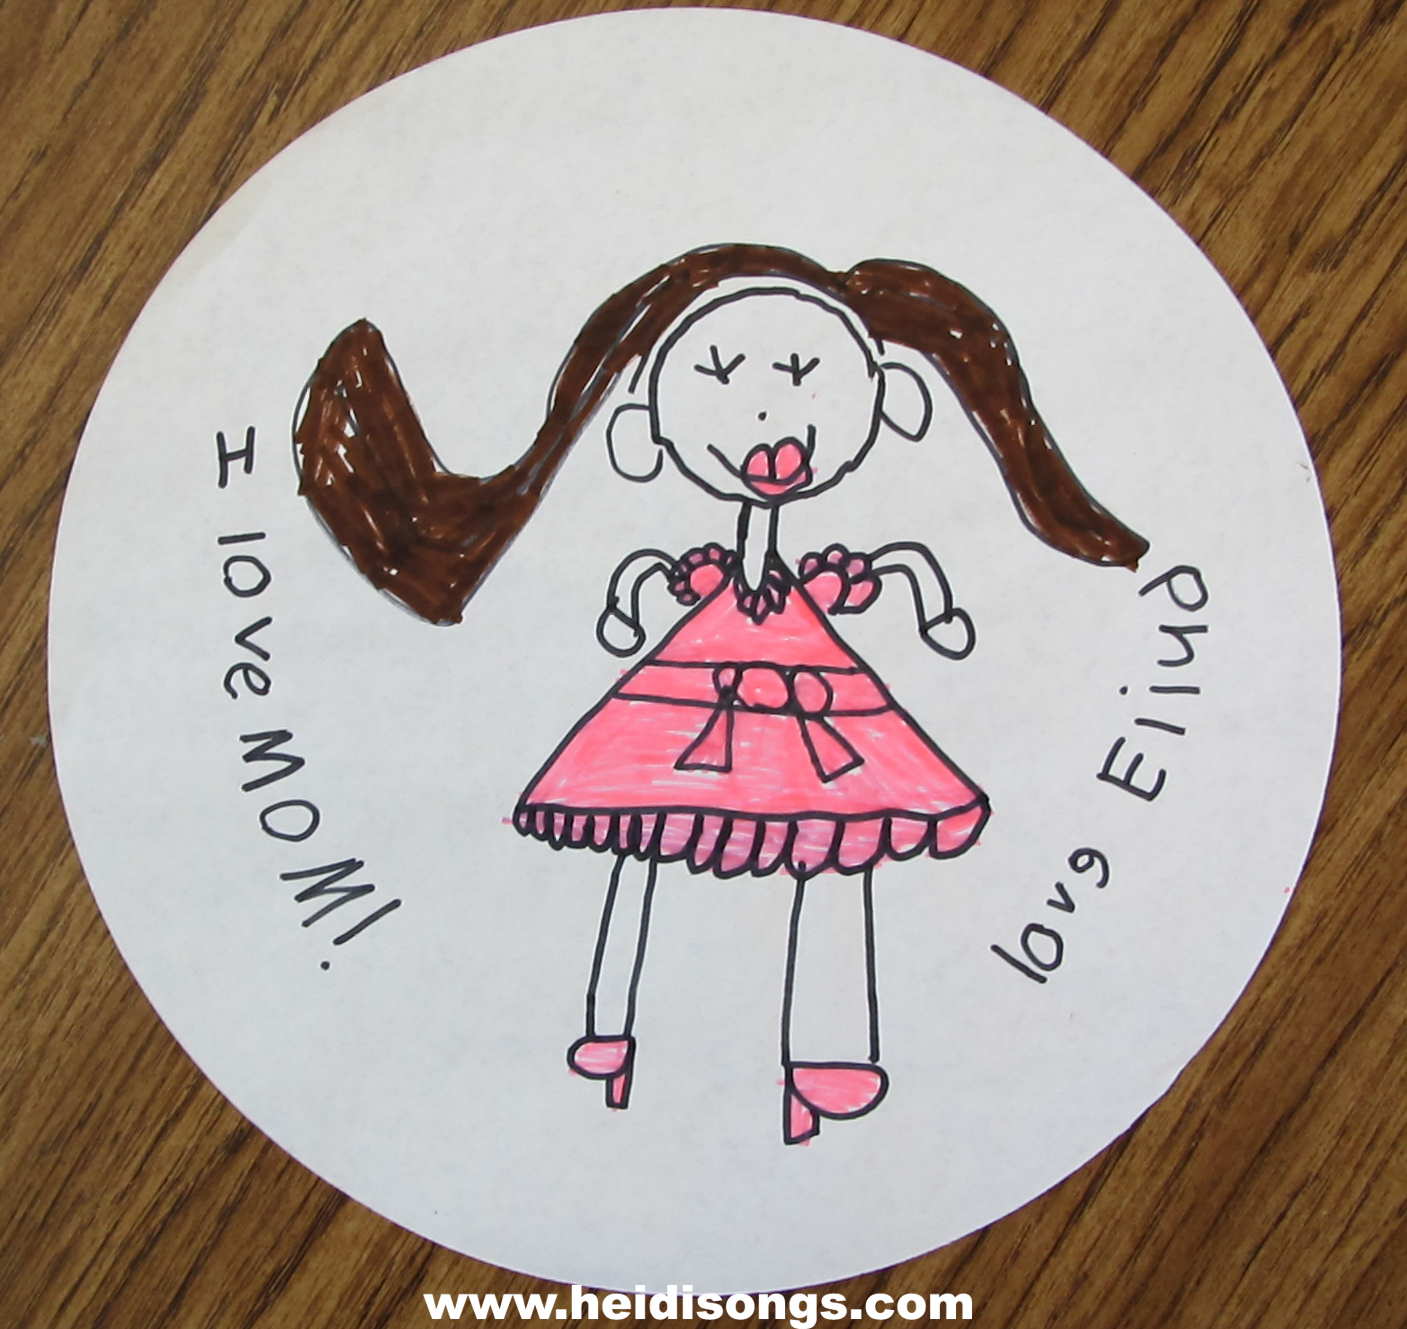
Here are some pictures of the children’s finished designs. Enjoy!




Today is the LAST DAY to submit your class movie to our Video Contest, but we’ll give you the weekend if you have not had the time to get it out of your camera yet! We’ve had so many great entries this year and will announce the winners on next week’s blog! This wonderful entry is from our friends at Washington-Kosciusko Elementary, chilling to the “white” Sight Word song!
————


